Add a client and send the app invite
Add a new client in Trainnode with their goals and health notes, pick their first check-ins and send the email that gets them into the app.
Trainnode team
1 min read
Adding a client creates their profile in your dashboard and sends them an email with a sign-in link and the app. Bringing over a whole list at once? Use Import clients instead.
Open the new client form
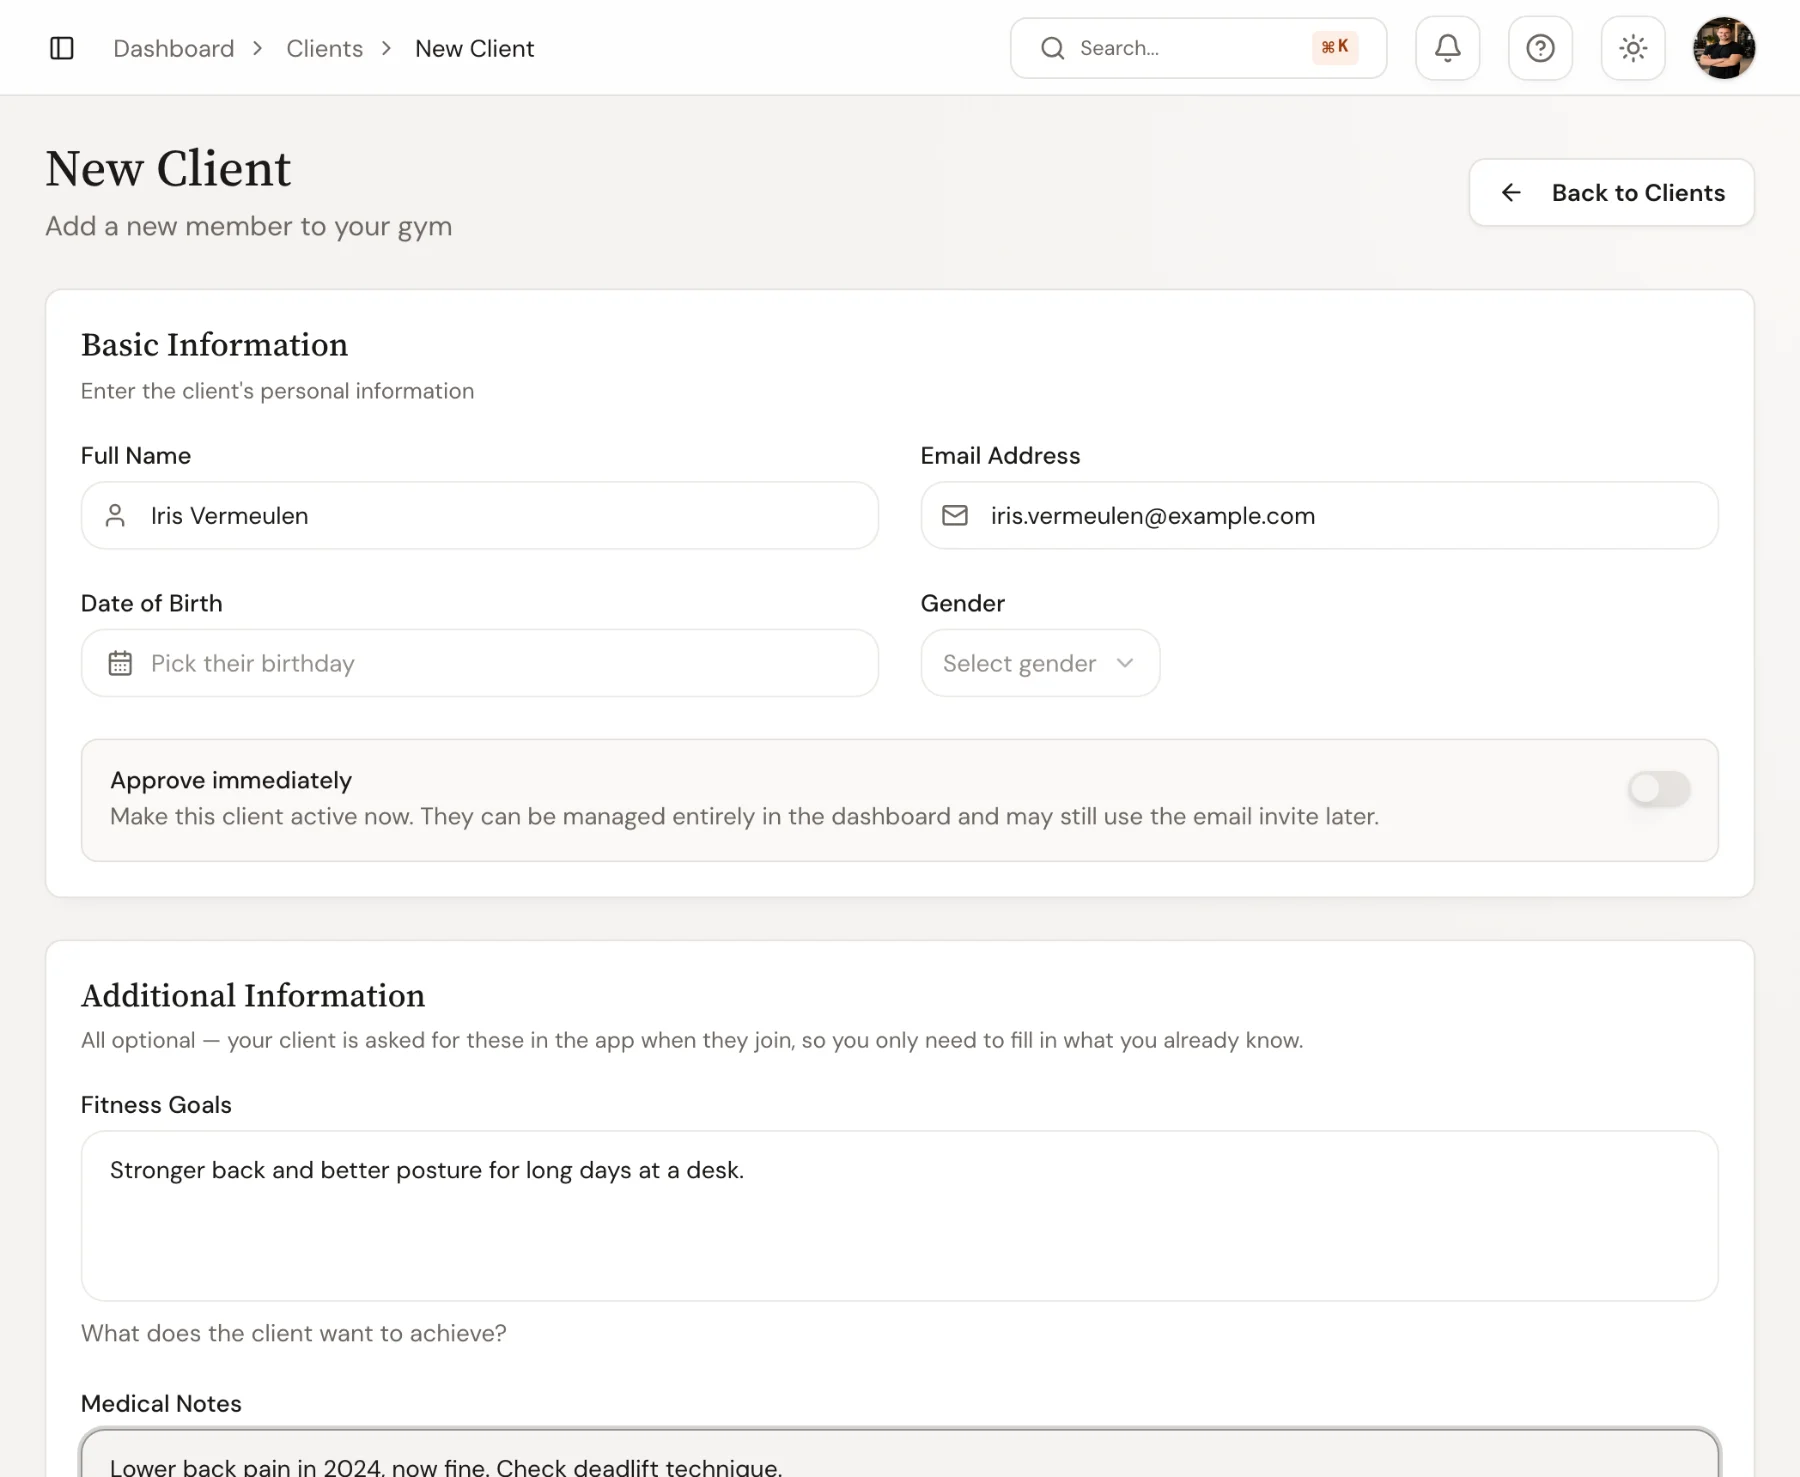
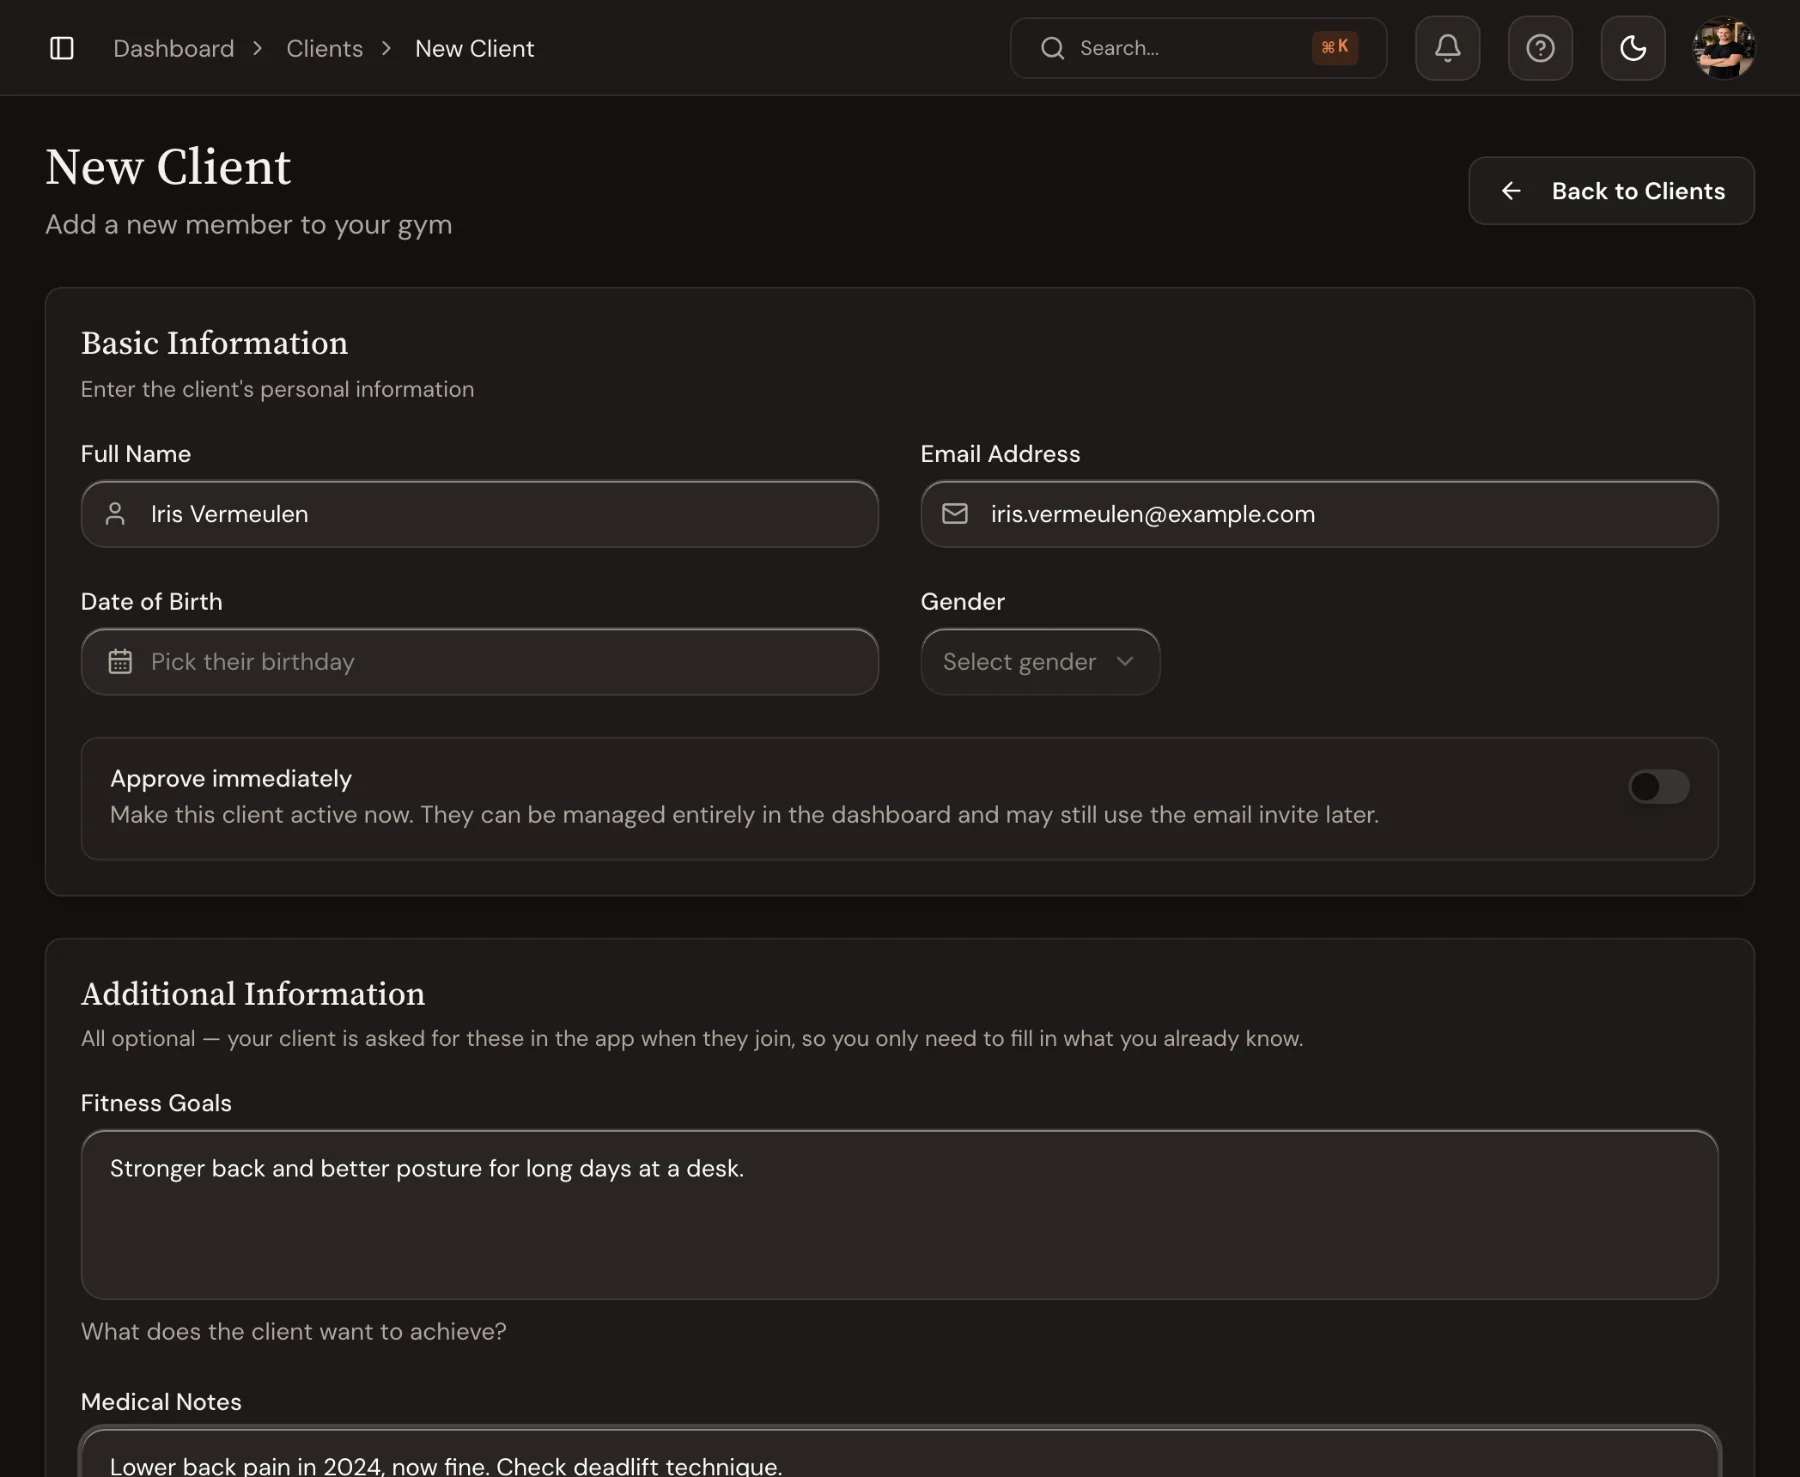
Go to Clients and choose Add client. Fill in the full name and email address. That's all you need to send the invite.
Add what you already know
Under Additional information, add the client's date of birth, gender, fitness goals and medical notes, such as injuries or conditions to keep in mind. Everything here is optional: the client is asked the rest in the app when they join, so only fill in what you already know.
Record a welcome video
Under Welcome video, record a short hello with your webcam or upload one. The client sees it on the home screen of the app. Thirty seconds of your face does more for a first impression than any welcome email.
Choose the first check-ins
Under Surveys, the check-ins you marked as new-user surveys are already selected, such as an intake form. Review them before sending, or choose Show all surveys to add another.
Send the invite
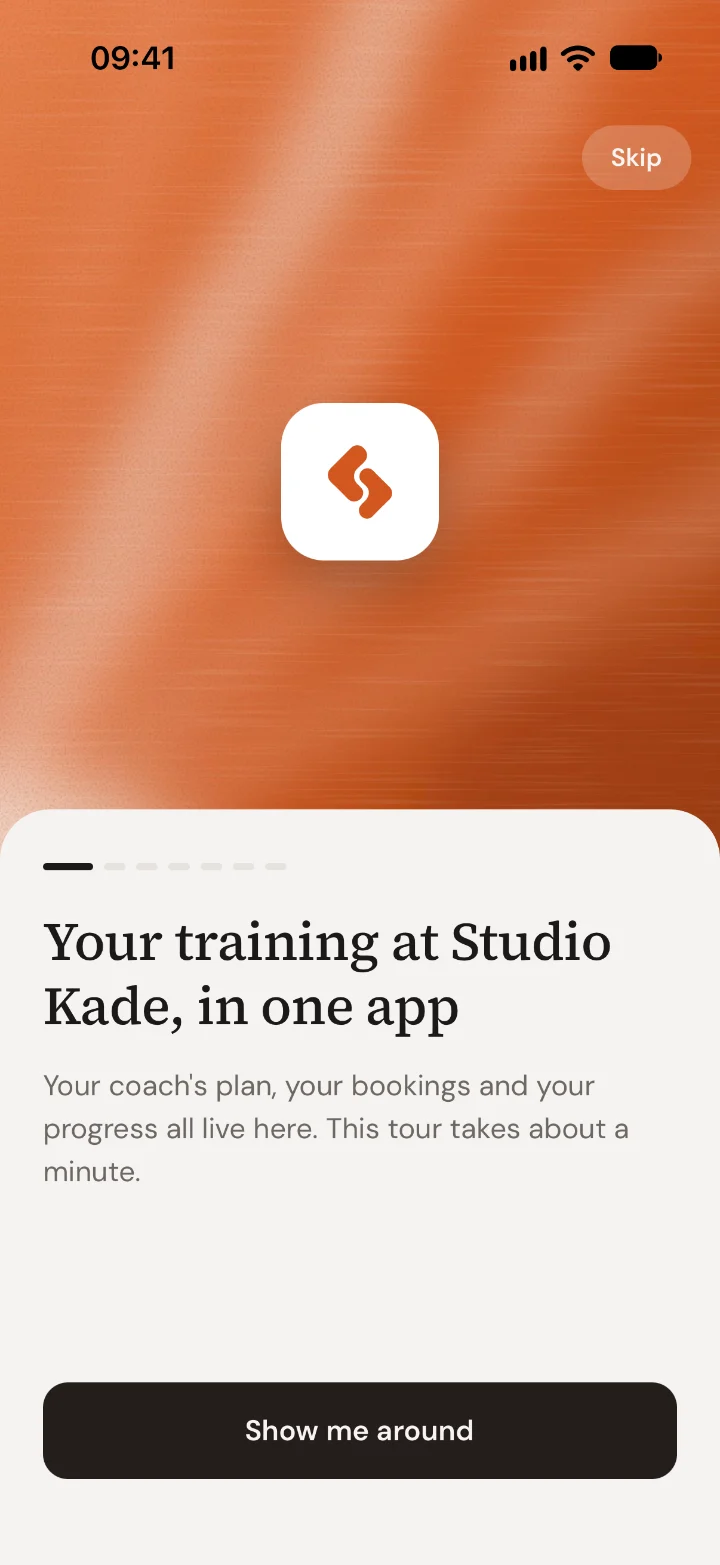
Choose Send invite. The client gets an email with a sign-in link and a link to download the app. When they tap it, they're signed in and see a short tour of the app with your studio's name.
Turn on Approve immediately to make the client active straight away. You can then plan their training and book sessions for them before they've opened the email.
Good to know
- Send members to Get started with the Trainnode app if they have questions about signing in.
- Check the email address before you send. The invite goes to that address, and a client who signs in with another one won't see your studio.

 Book 30 minutes with David